Create a free virtual machine in the cloud - Oracle Cloud

I've previously shared a post explaining why I decided to migrate a portion of my homelab to the cloud. In this article, I'll guide you on how to set up a high-performance virtual machine at no cost.
You can enjoy the following specifications completely free:
- 4 Core CPU
- 4 Gbps Bandwidth
- 24 GB of Memory RAM

Oracle Cloud - Free Tier
The Oracle Cloud Free Tier is a promotional offering by Oracle Cloud that allows users to access a limited amount of their cloud services at no cost. It is designed to give individuals and organizations the opportunity to explore and test Oracle Cloud services without incurring charges, making it an attractive option for developers, startups, and anyone looking to get started with cloud computing.
Here's what "always free" means in the context of Oracle Cloud Free Tier:
Free Services: Oracle offers a set of services that are available for free on an ongoing basis. These services include compute instances (virtual machines), autonomous databases, object storage, and more.
Usage Limits: While these services are free, there are usage limits associated with each service. These limits may include restrictions on the amount of compute power, storage capacity, or data transfer that you can use for free. Once you exceed these limits, you will be billed for the additional usage.
No Expiry Date: Unlike some other cloud providers' free tiers that have a limited trial period (e.g., 12 months), Oracle Cloud's "always free" services do not expire as long as you remain within the specified usage limits.
Limited Features: The "always free" services may not include all the features and capabilities available in the paid versions of these services. You may find that certain advanced features or higher levels of support are not available in the free tier.
Upgrade Options: If you need more resources or capabilities beyond the free tier limits, you can easily upgrade to a paid Oracle Cloud subscription to access a wider range of services and features.
Oracle's "always free" offering is subject to change, so it's a good idea to check Oracle Cloud's official website for the most up-to-date information on which services are included and what the current usage limits are.
Create a free VM
Now that we understand what the Oracle Cloud Free Tier offers, let's begin the process of creating our free Virtual Machine.
1- Create an account
Navigate to Oracle Cloud Free Tier signup page:

And complete the necessary fields:

After filling out all the required fields, a verification email will be sent.
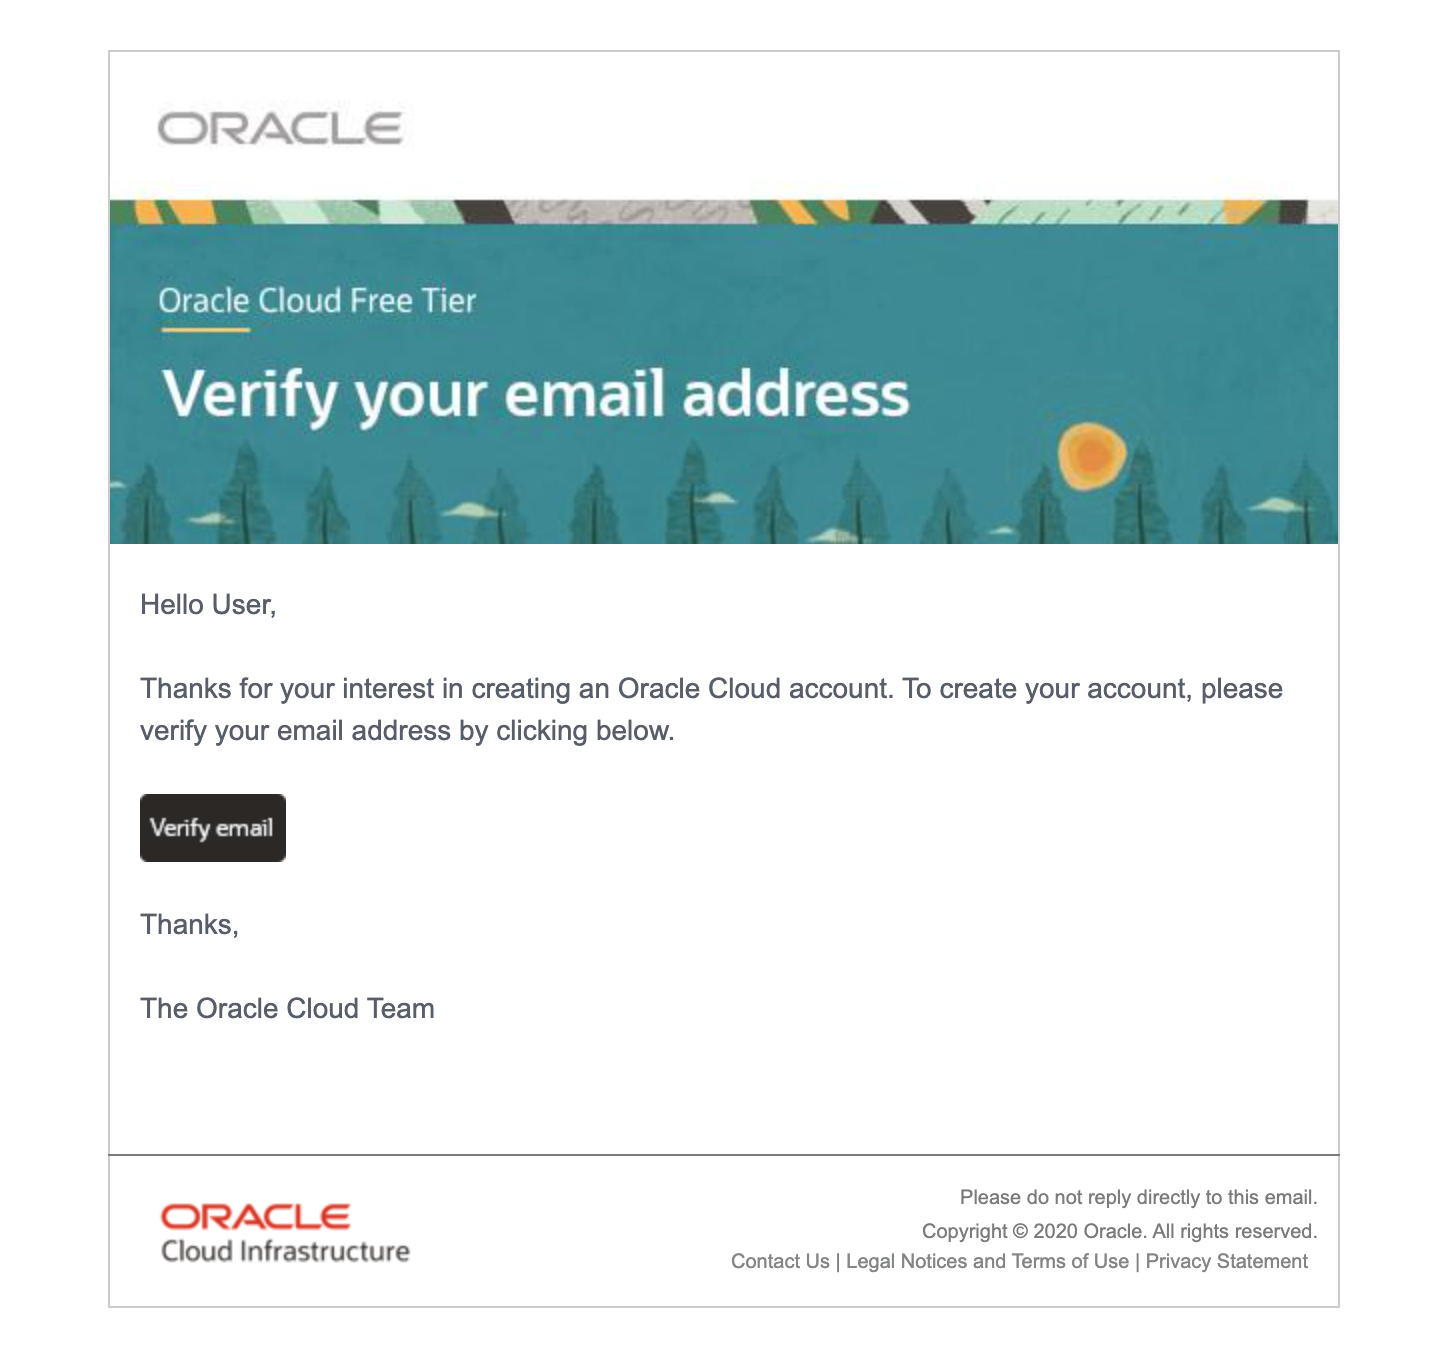
When you click on the 'verify email' button, it will redirect you to a new form. In this form, you will need to enter a password and select your region zone. Please note that once you create the account, you won't be able to change your home region, and the process of deleting your account to create a new one can be quite cumbersome.
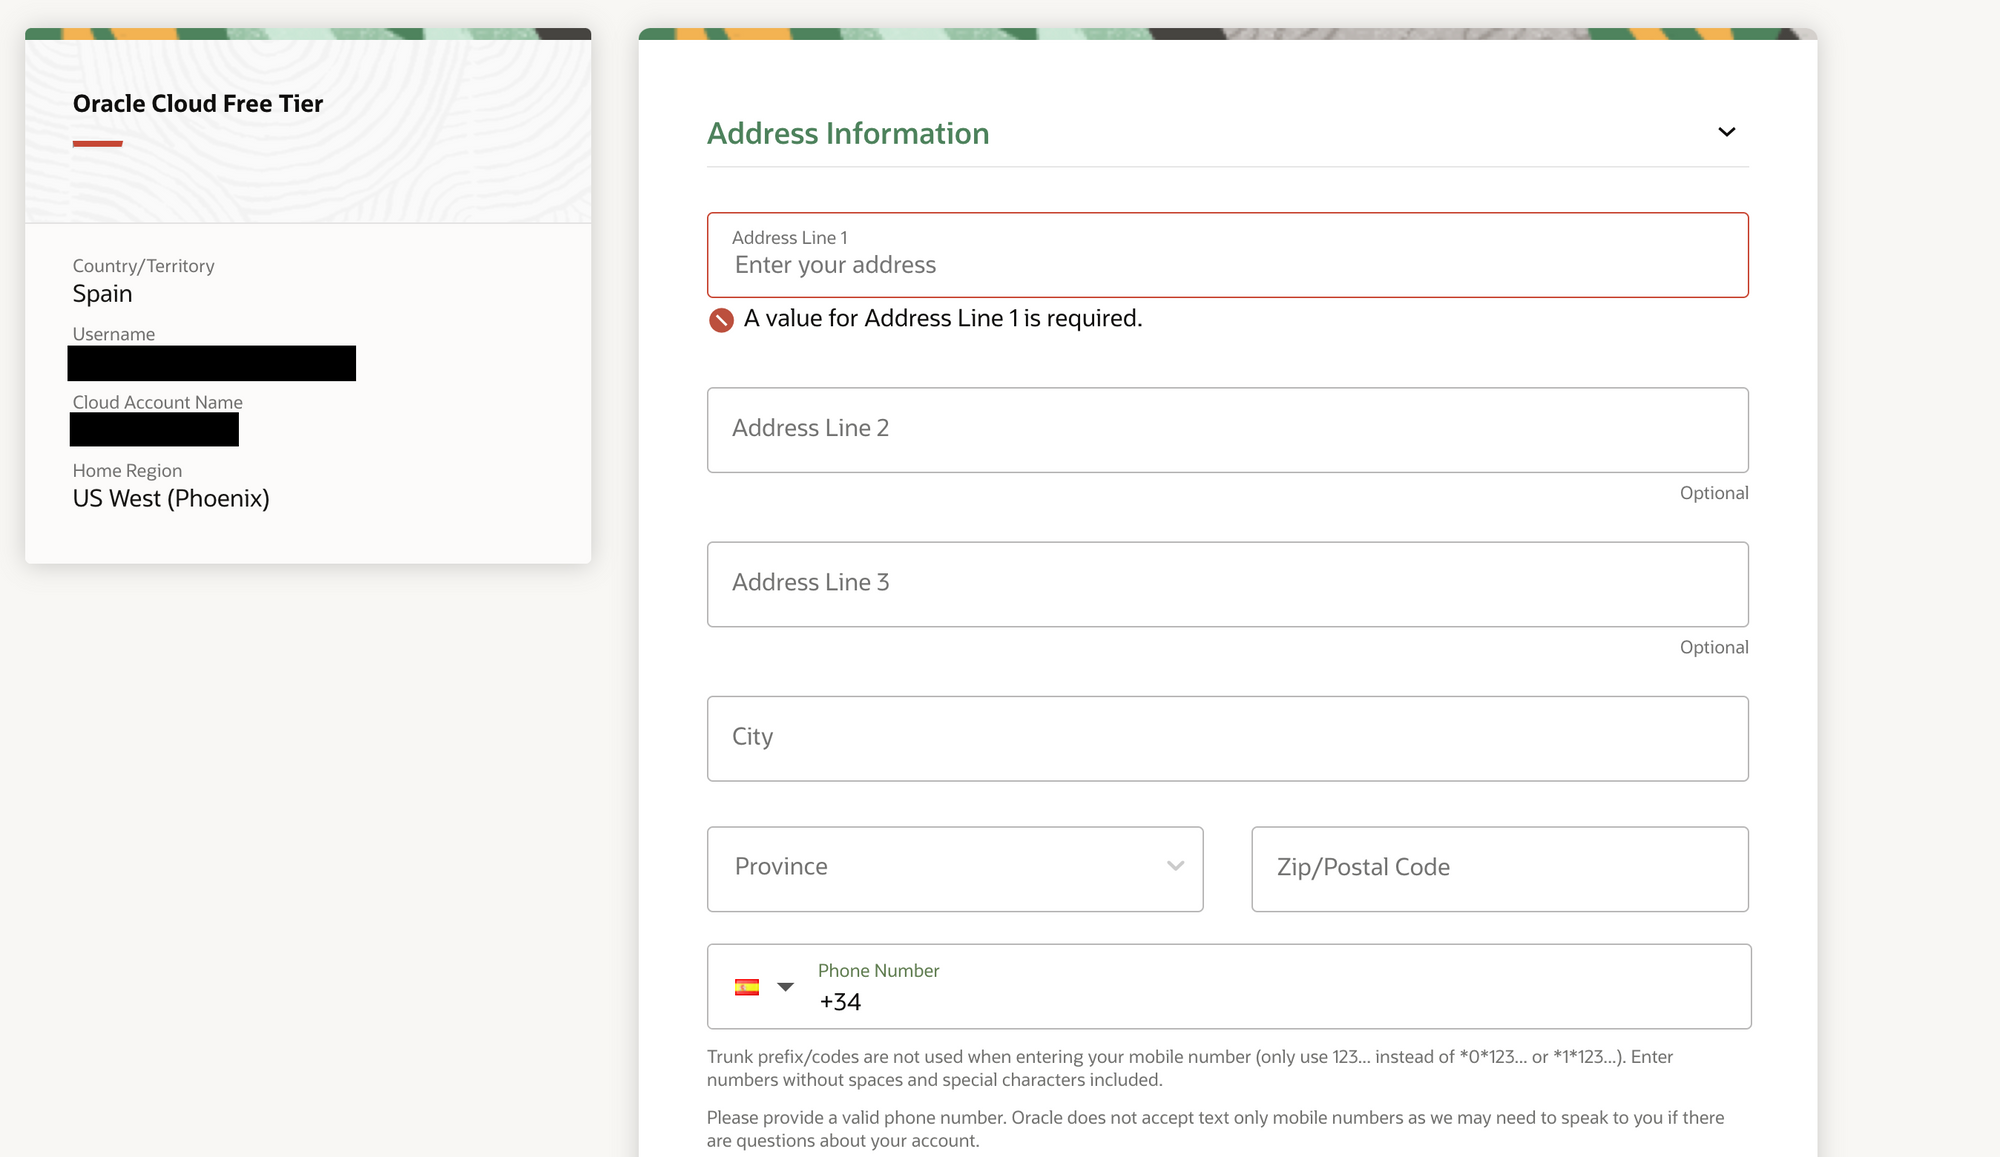
After completing the form, you will have one last step. In this step, you will need to provide address information (address, city, province, country, etc.) and enter payment information. Please note that you will not be charged; this is solely for verification purposes. If you exclusively use Always Free resources, you will not incur any charges.
2- Create VM Instance
After completing the sign-up process, you will gain access to your Oracle Cloud Dashboard, where you can verify that you have an Always Free Account:

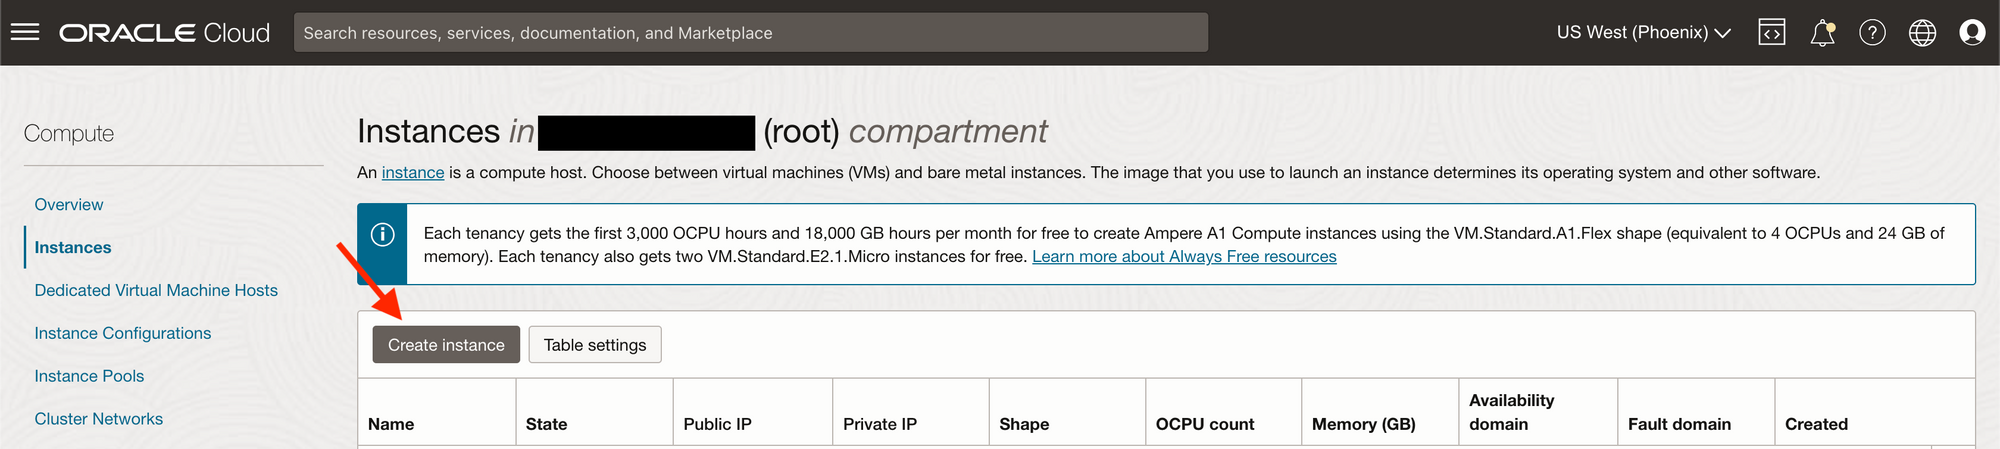
Access Oracle instances directly by clicking the following link:

Click on "Create instance" button:
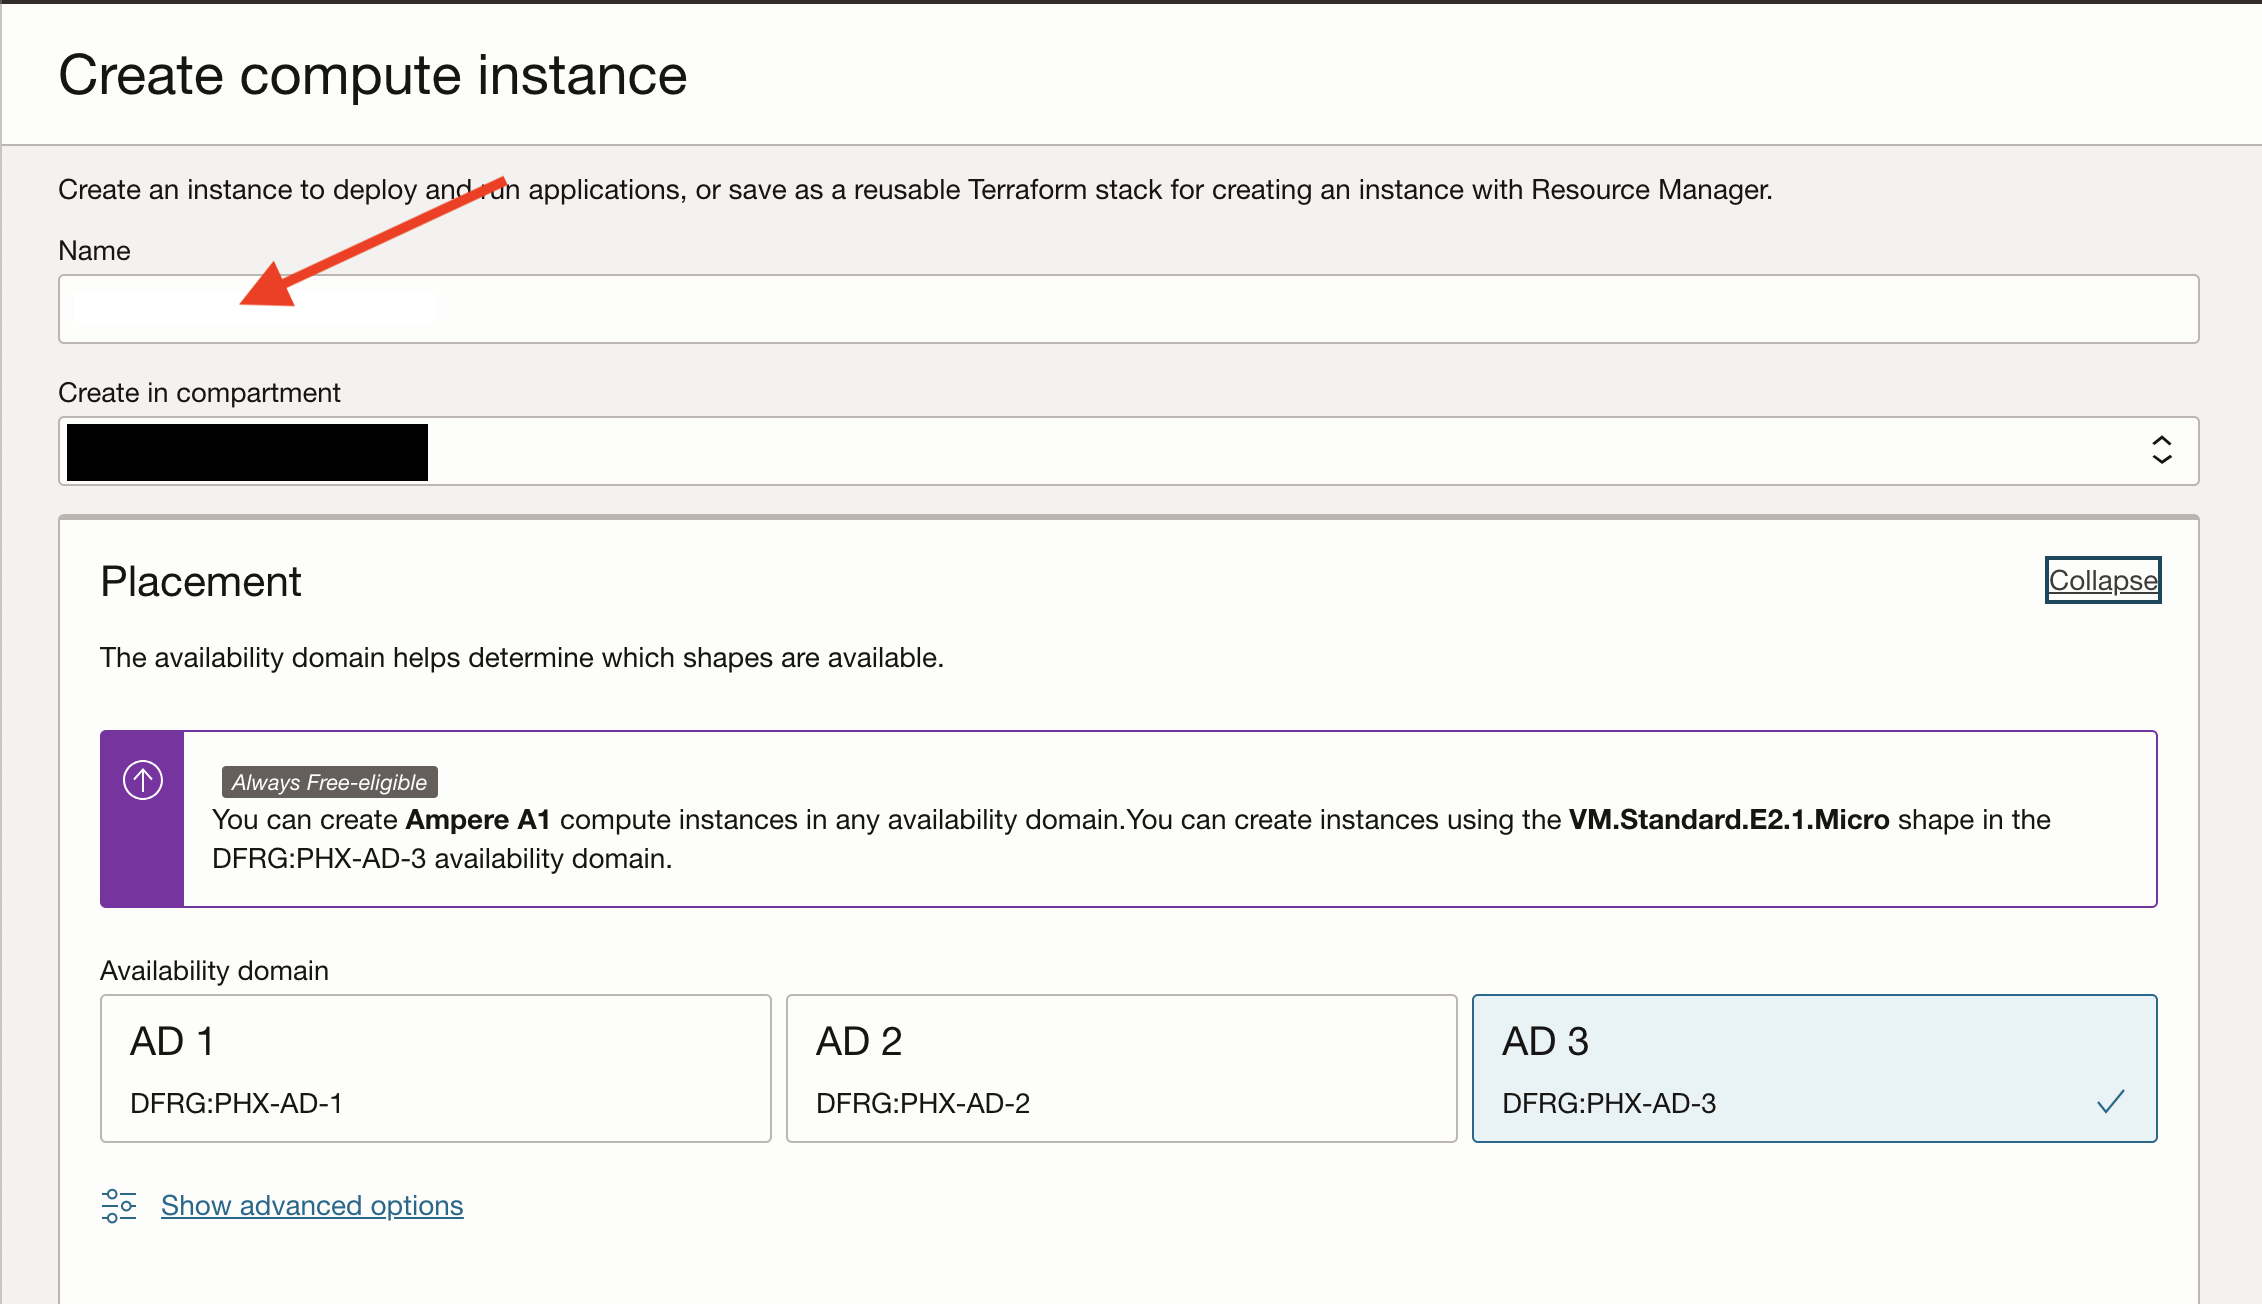
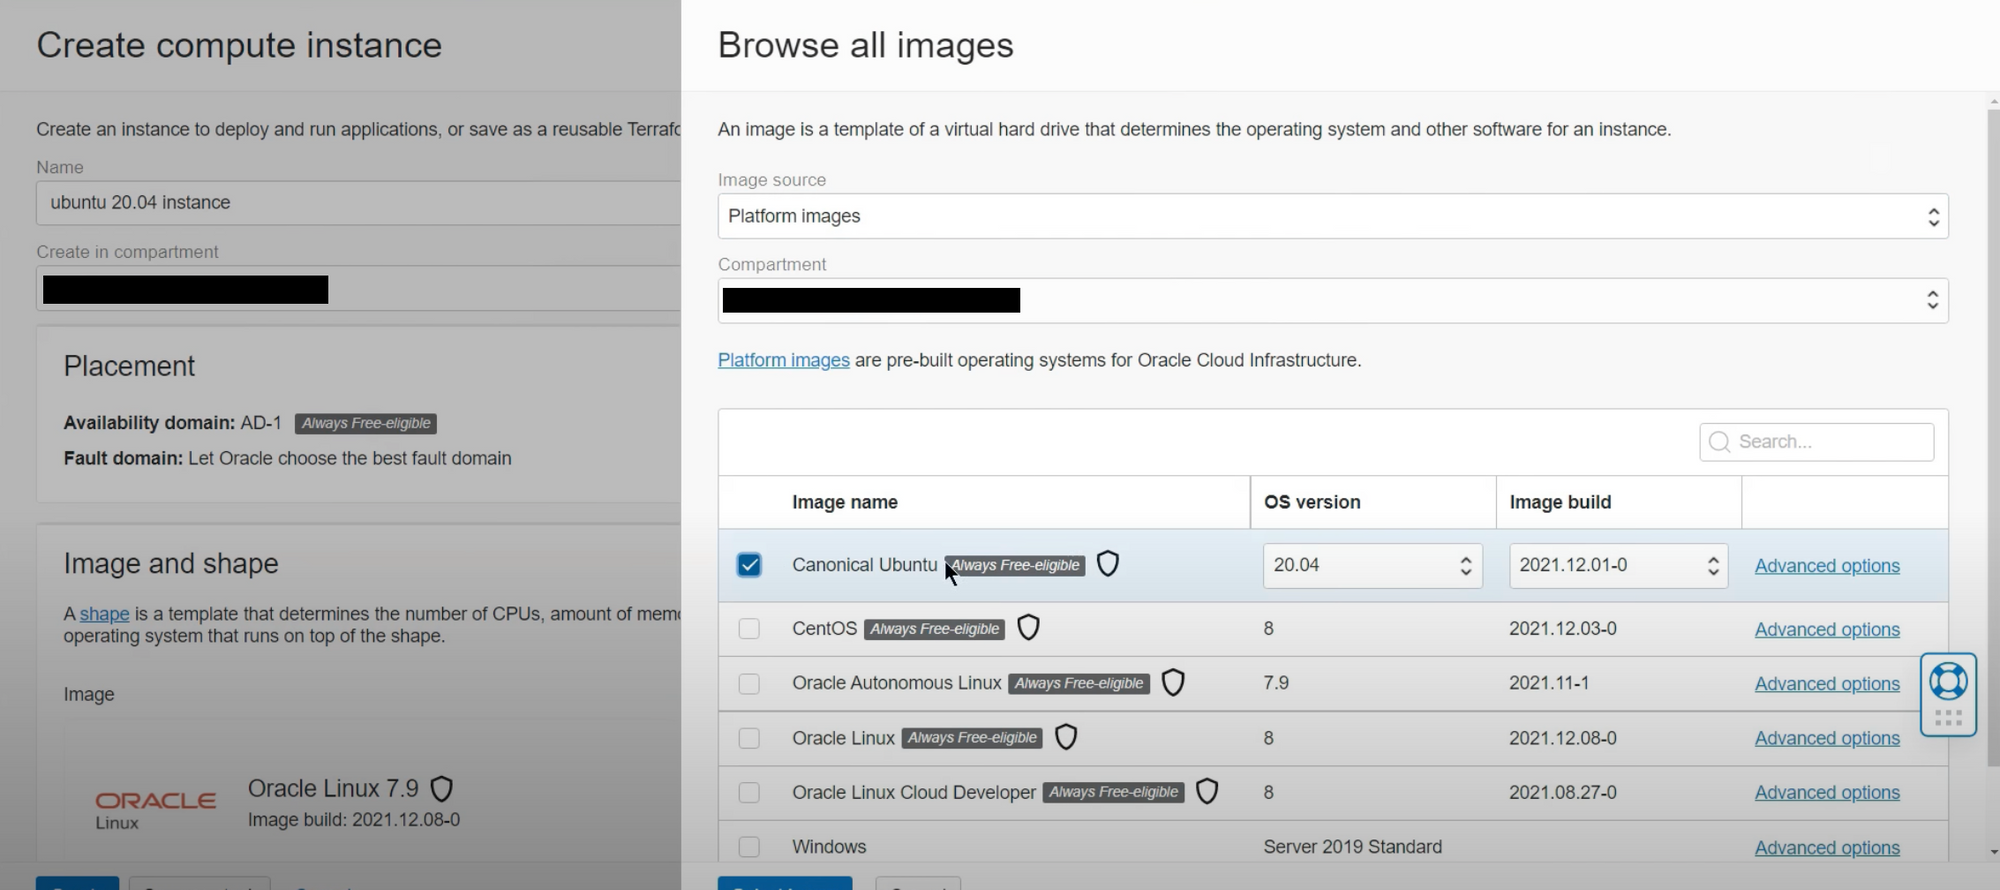
A new window will appear on where you will configure your VM. Notice that is important to select a placement where offers Ampere
Now, select your desire operating system image, it must be Always Free-elegible:
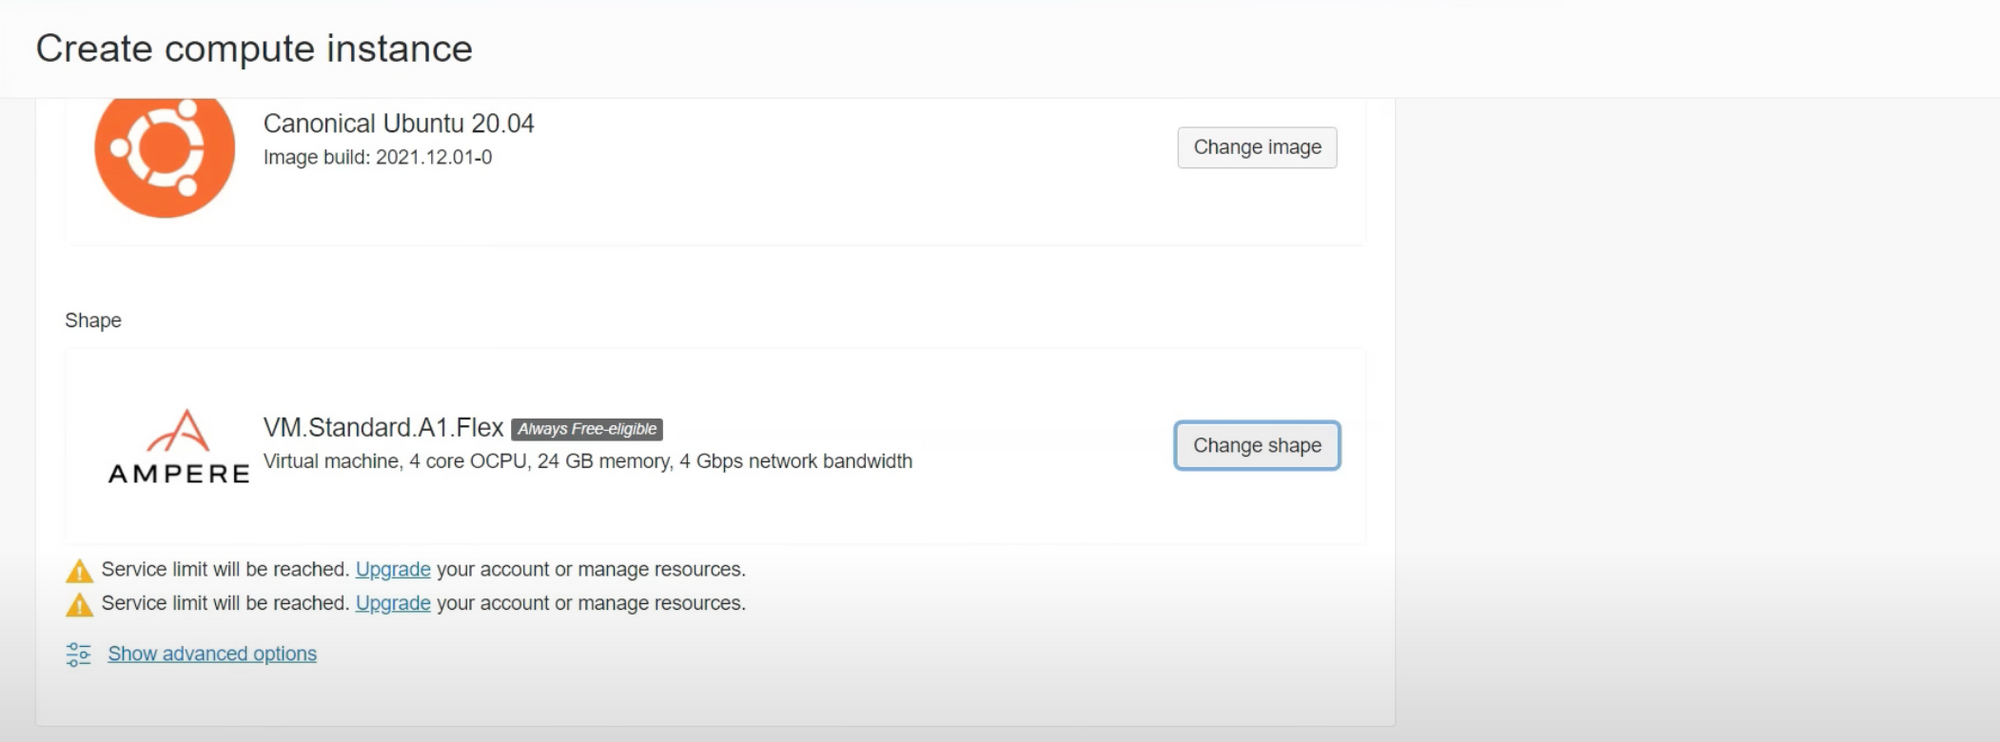
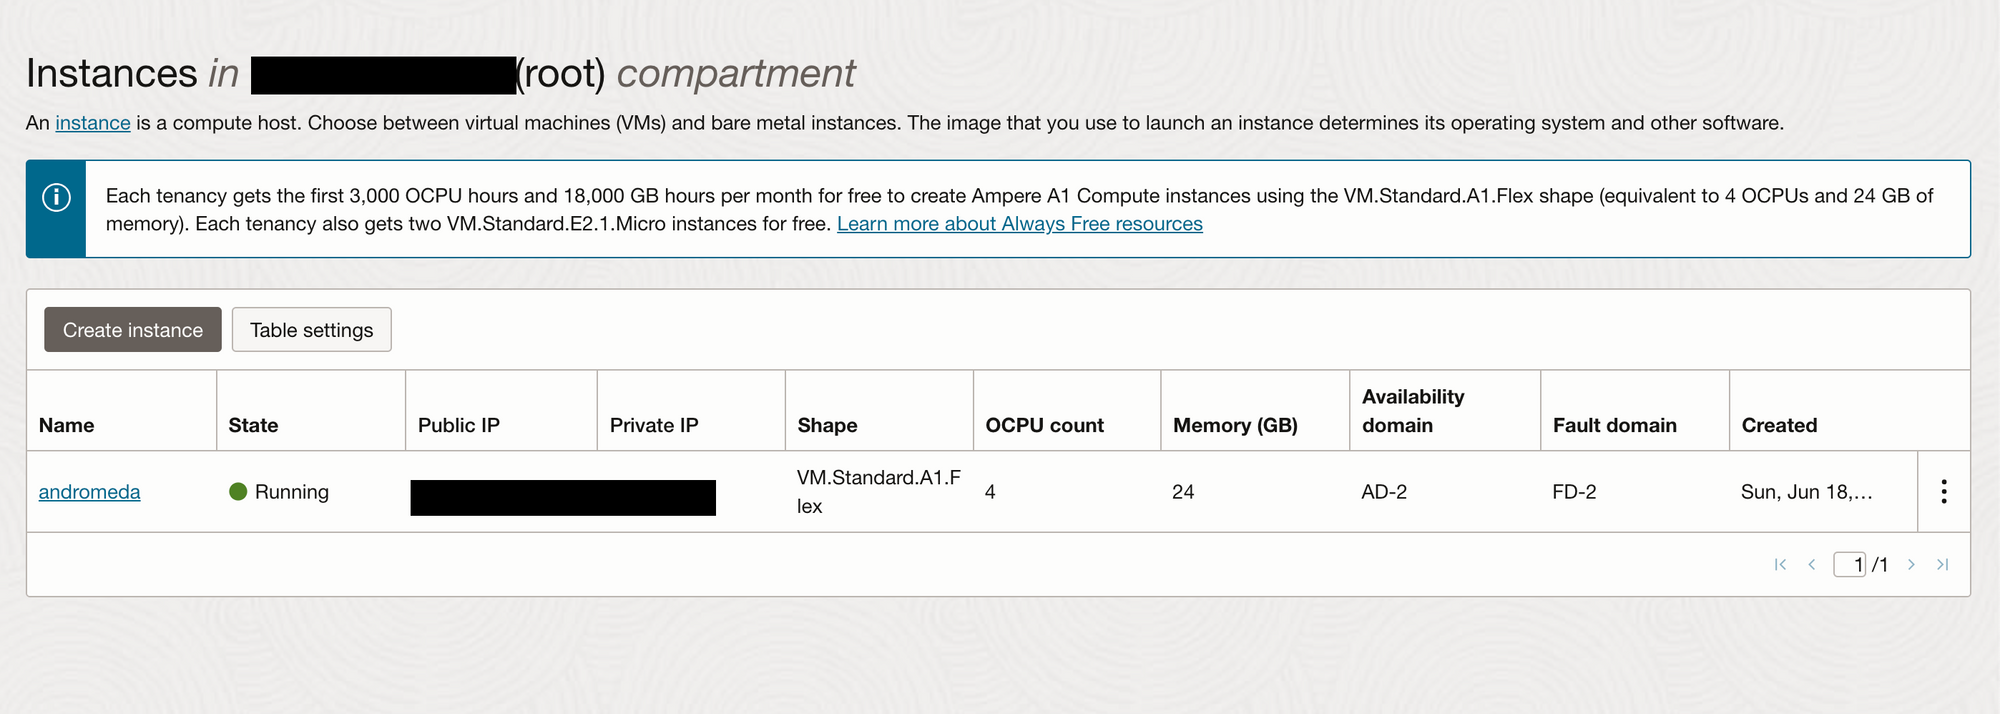
Choose the Ampere shape and maximize it to 4 OCPU and 24 GB memory, and take note that it's marked as 'Always Free eligible.'
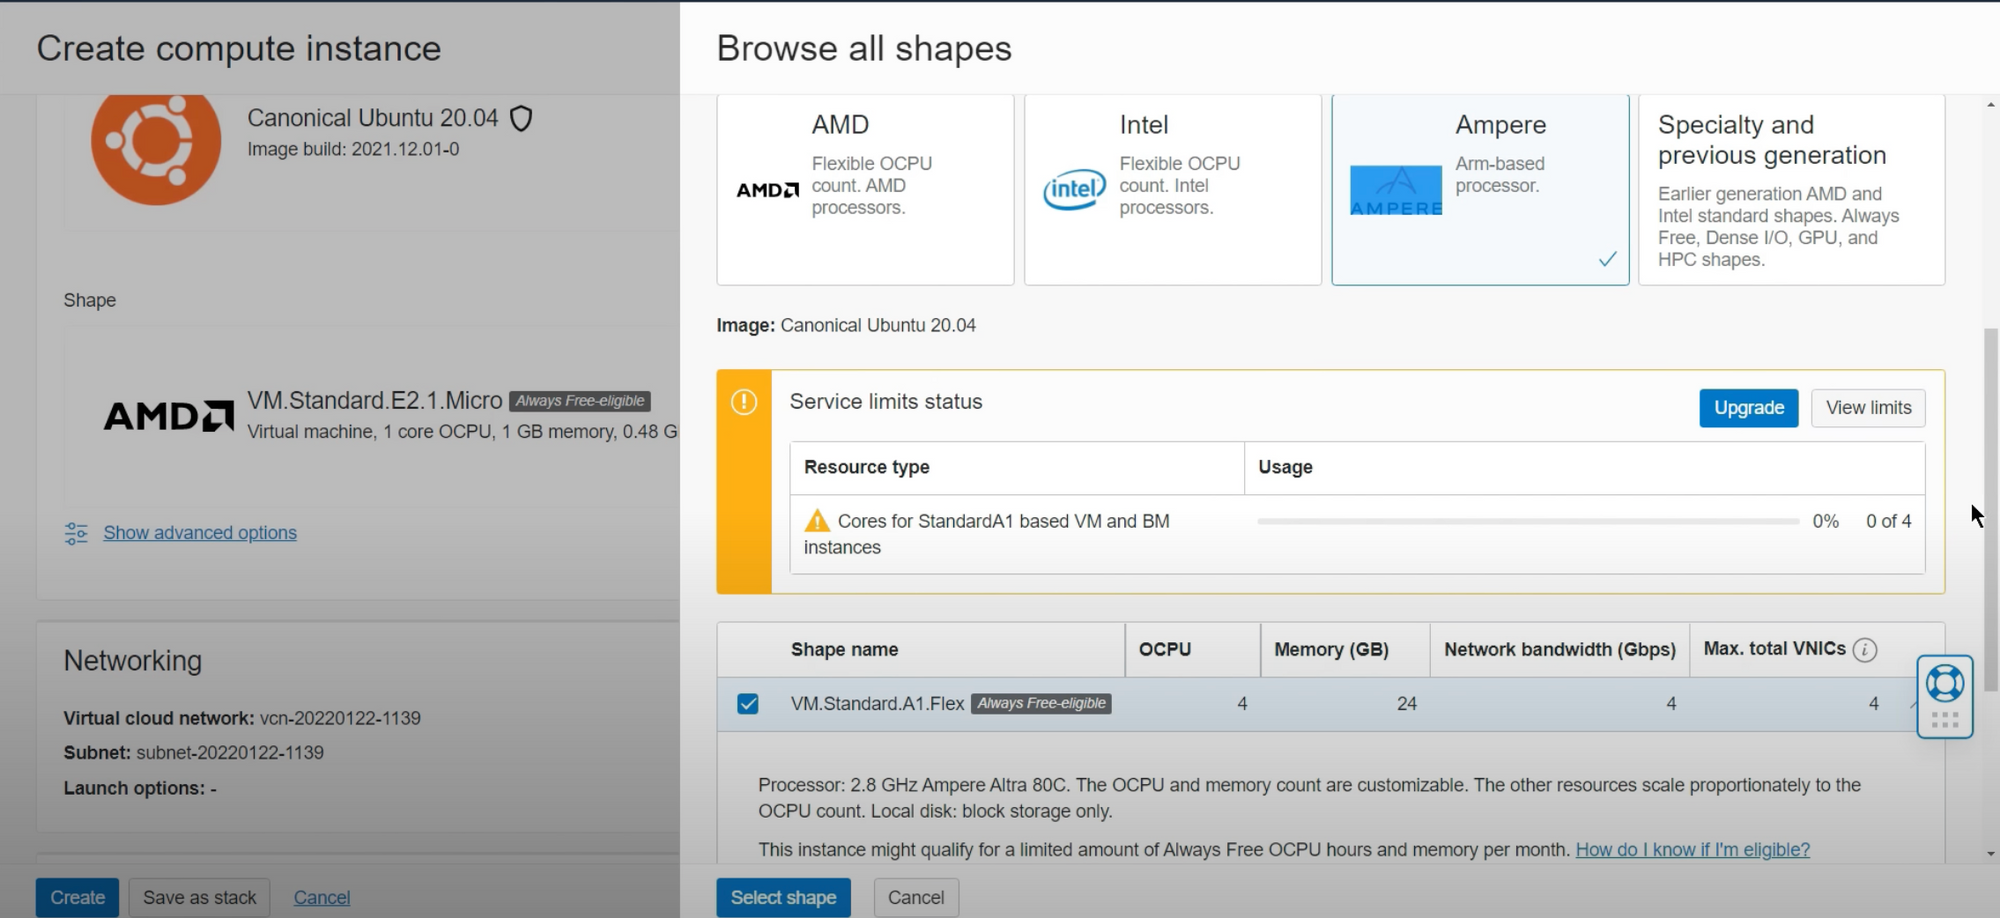
You'll notice that we've reached the account limit, meaning we cannot create a second free Ampere A1 flex machine. While you can delete and create another one, you won't be able to have two simultaneously with 4 OCPU and 24 GB of memory for free.
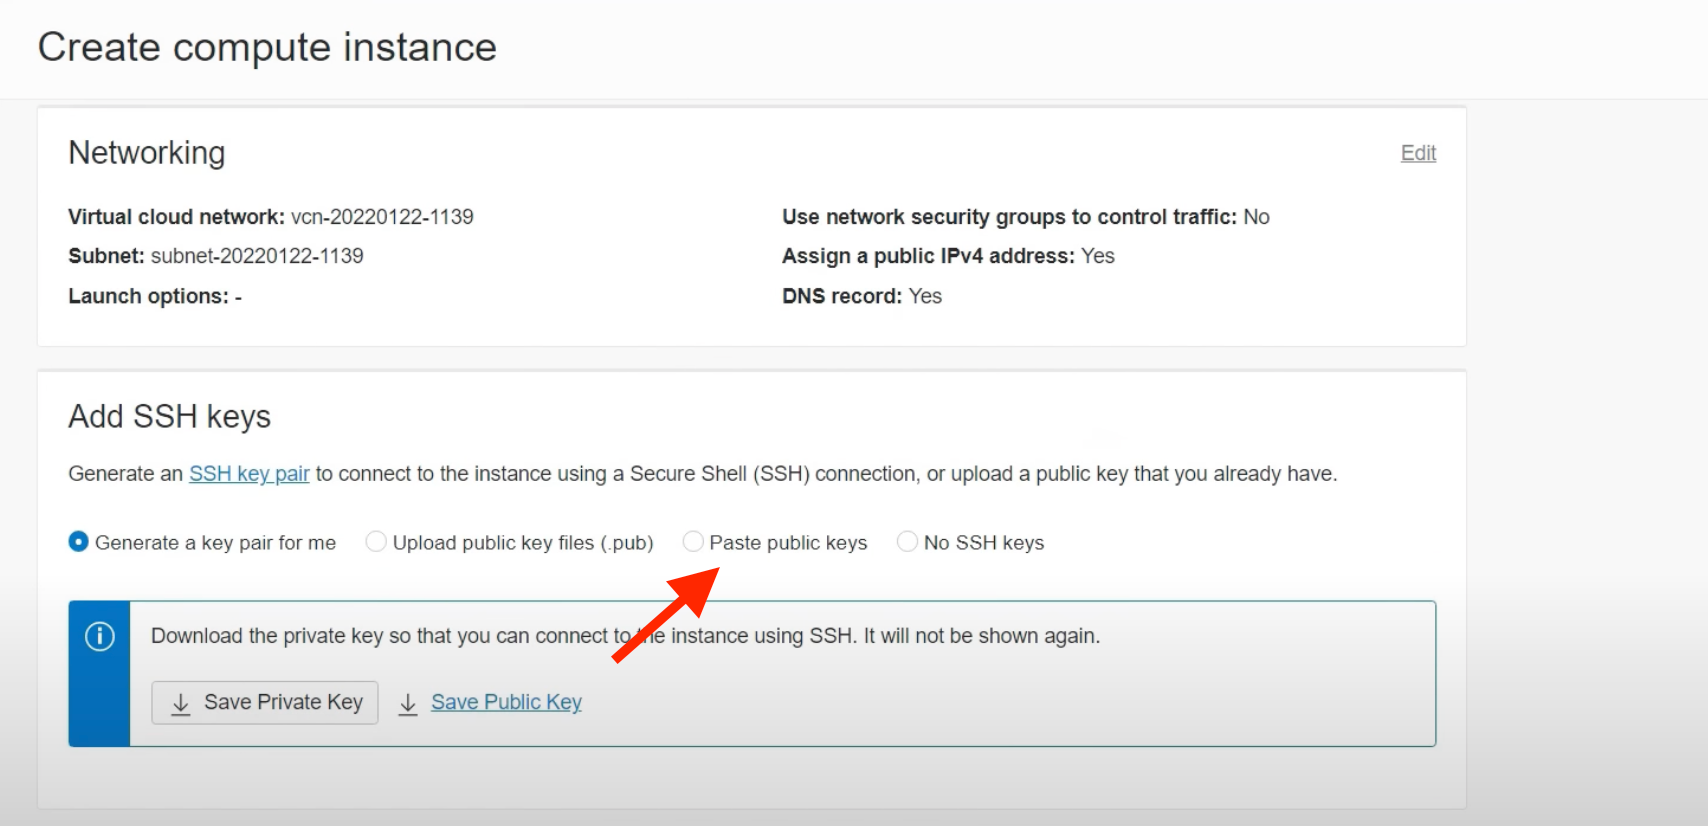
To establish a connection to our VM, you need to add your SSH Public Key:
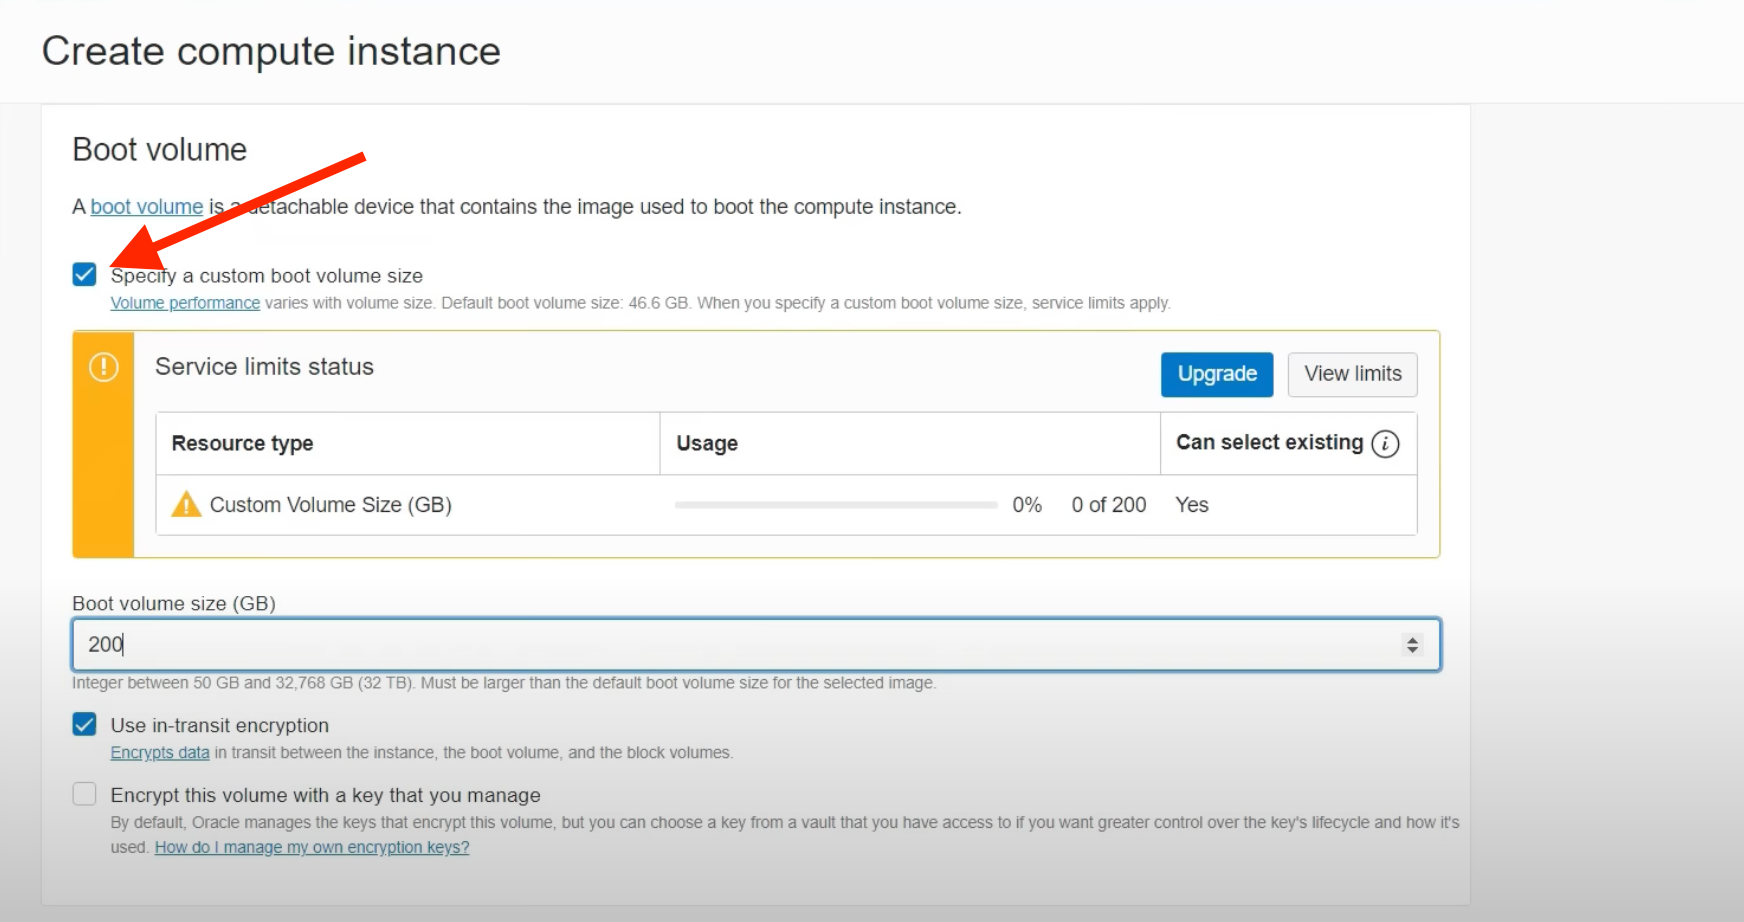
Specify the boot volume. You have 200GB available for free.
After configuring the machine, click the 'Create' button, and you now have a fully prepared VM.
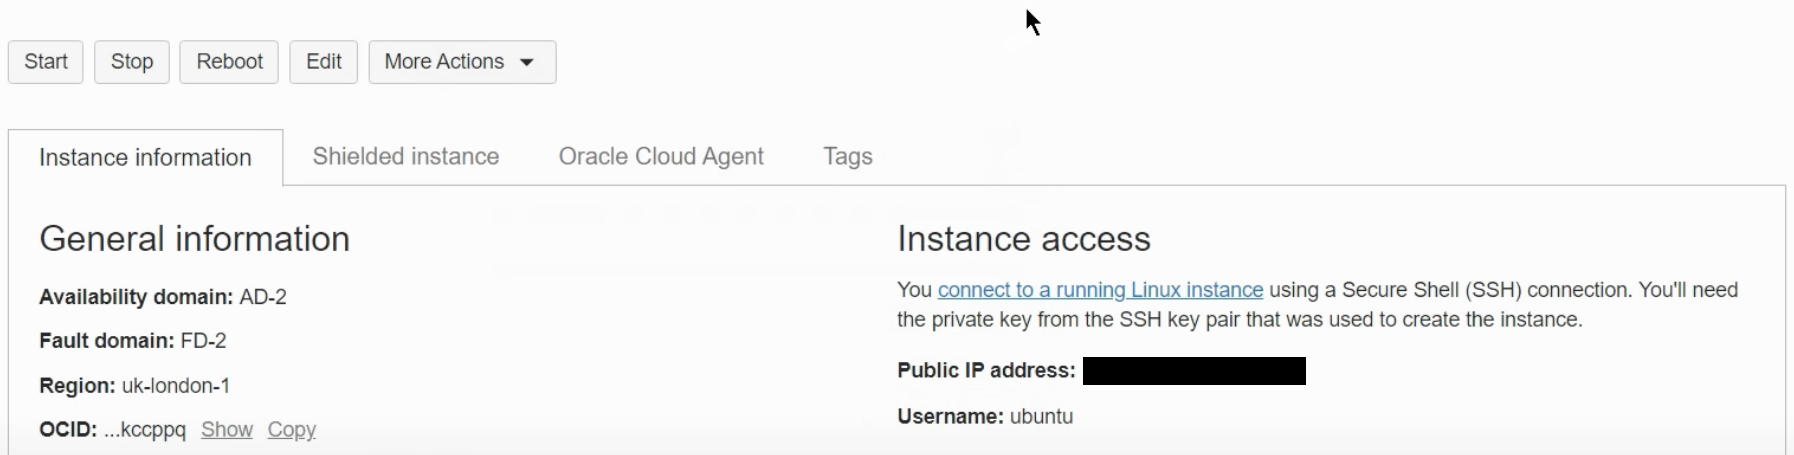
You can establish an SSH connection using the provided public IP and username. To access this information, click on the virtual machine's name to view all the details.
3- Open Virtual Machine ports
Opening ports in Oracle Cloud is a straightforward process. You just need to access your subnet security list.
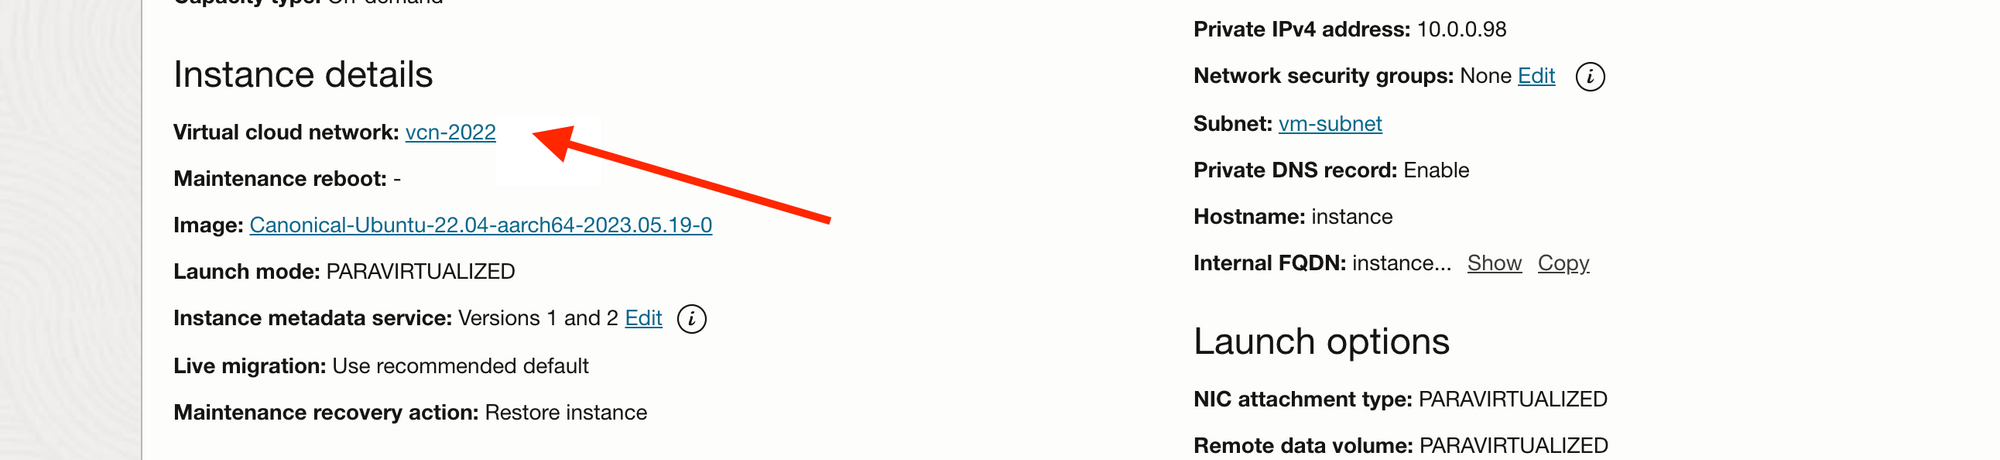
To get there, follow these steps from the VM details page: Click on 'Virtual Cloud Network'.
Click on your subnet:
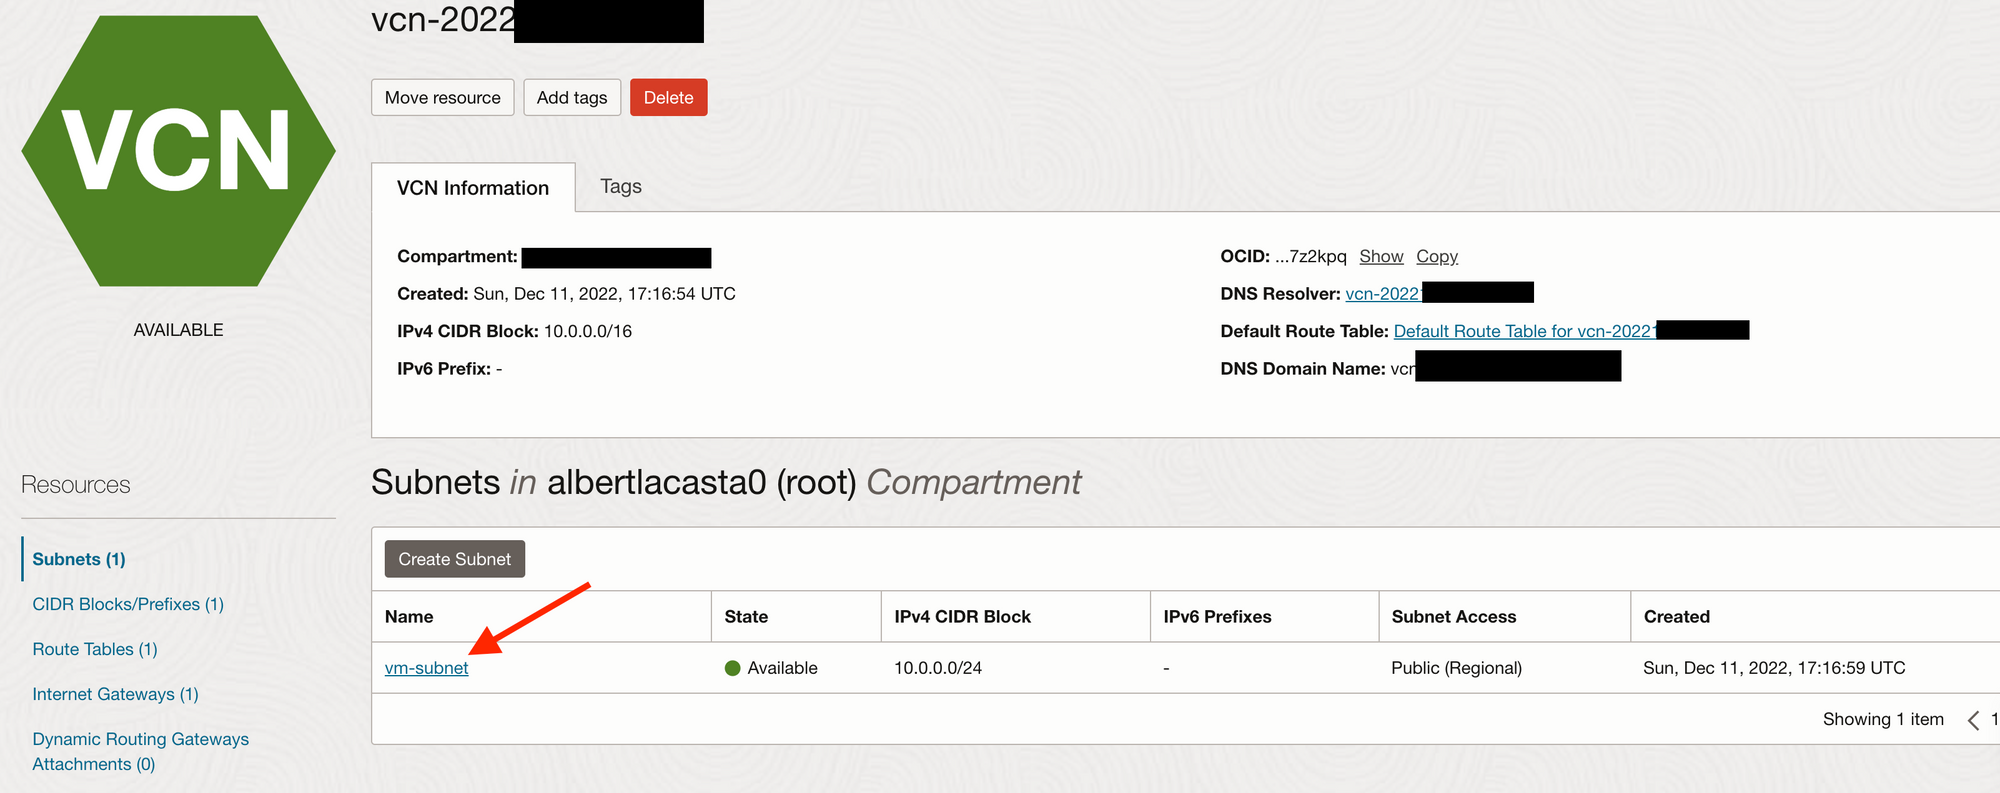
And finally click on your security list:

Finally, you will arrive at the Security List, where you can open new ports. You'll notice there is a default configuration necessary for SSH access to the machine. Please do not remove any default rules or ports.
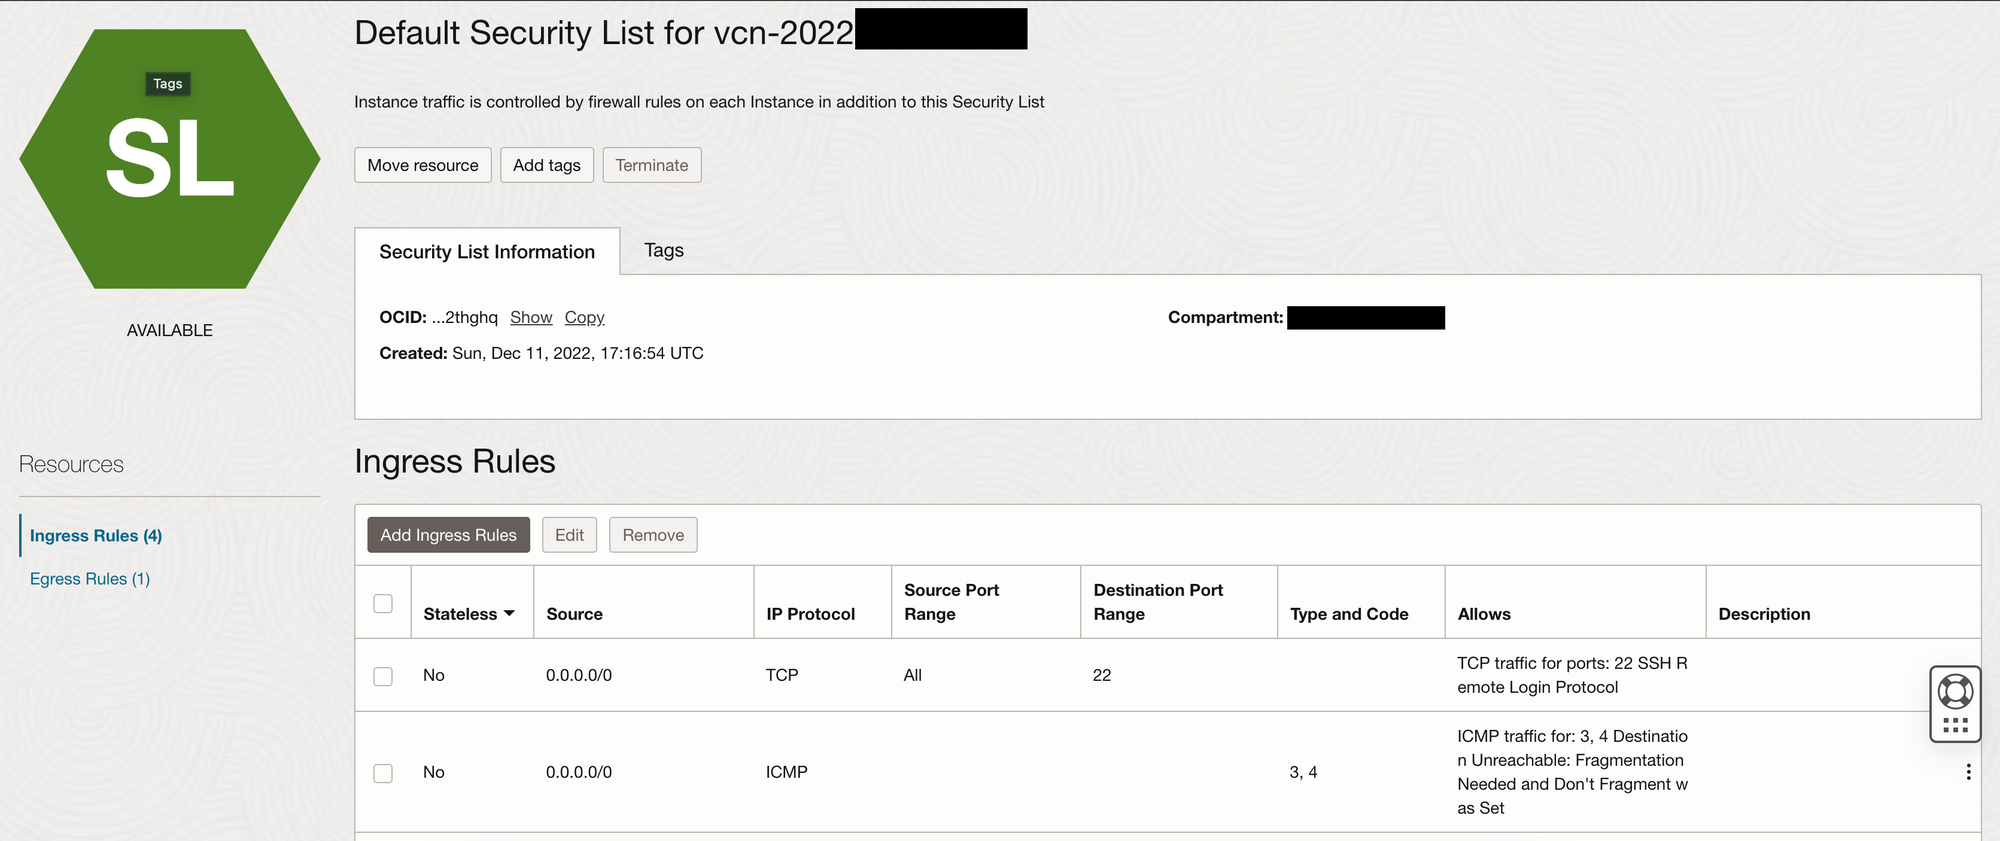
By clicking on "Add ingrese rule", a pop up dialog will apear and you will can to add the desire port to open.
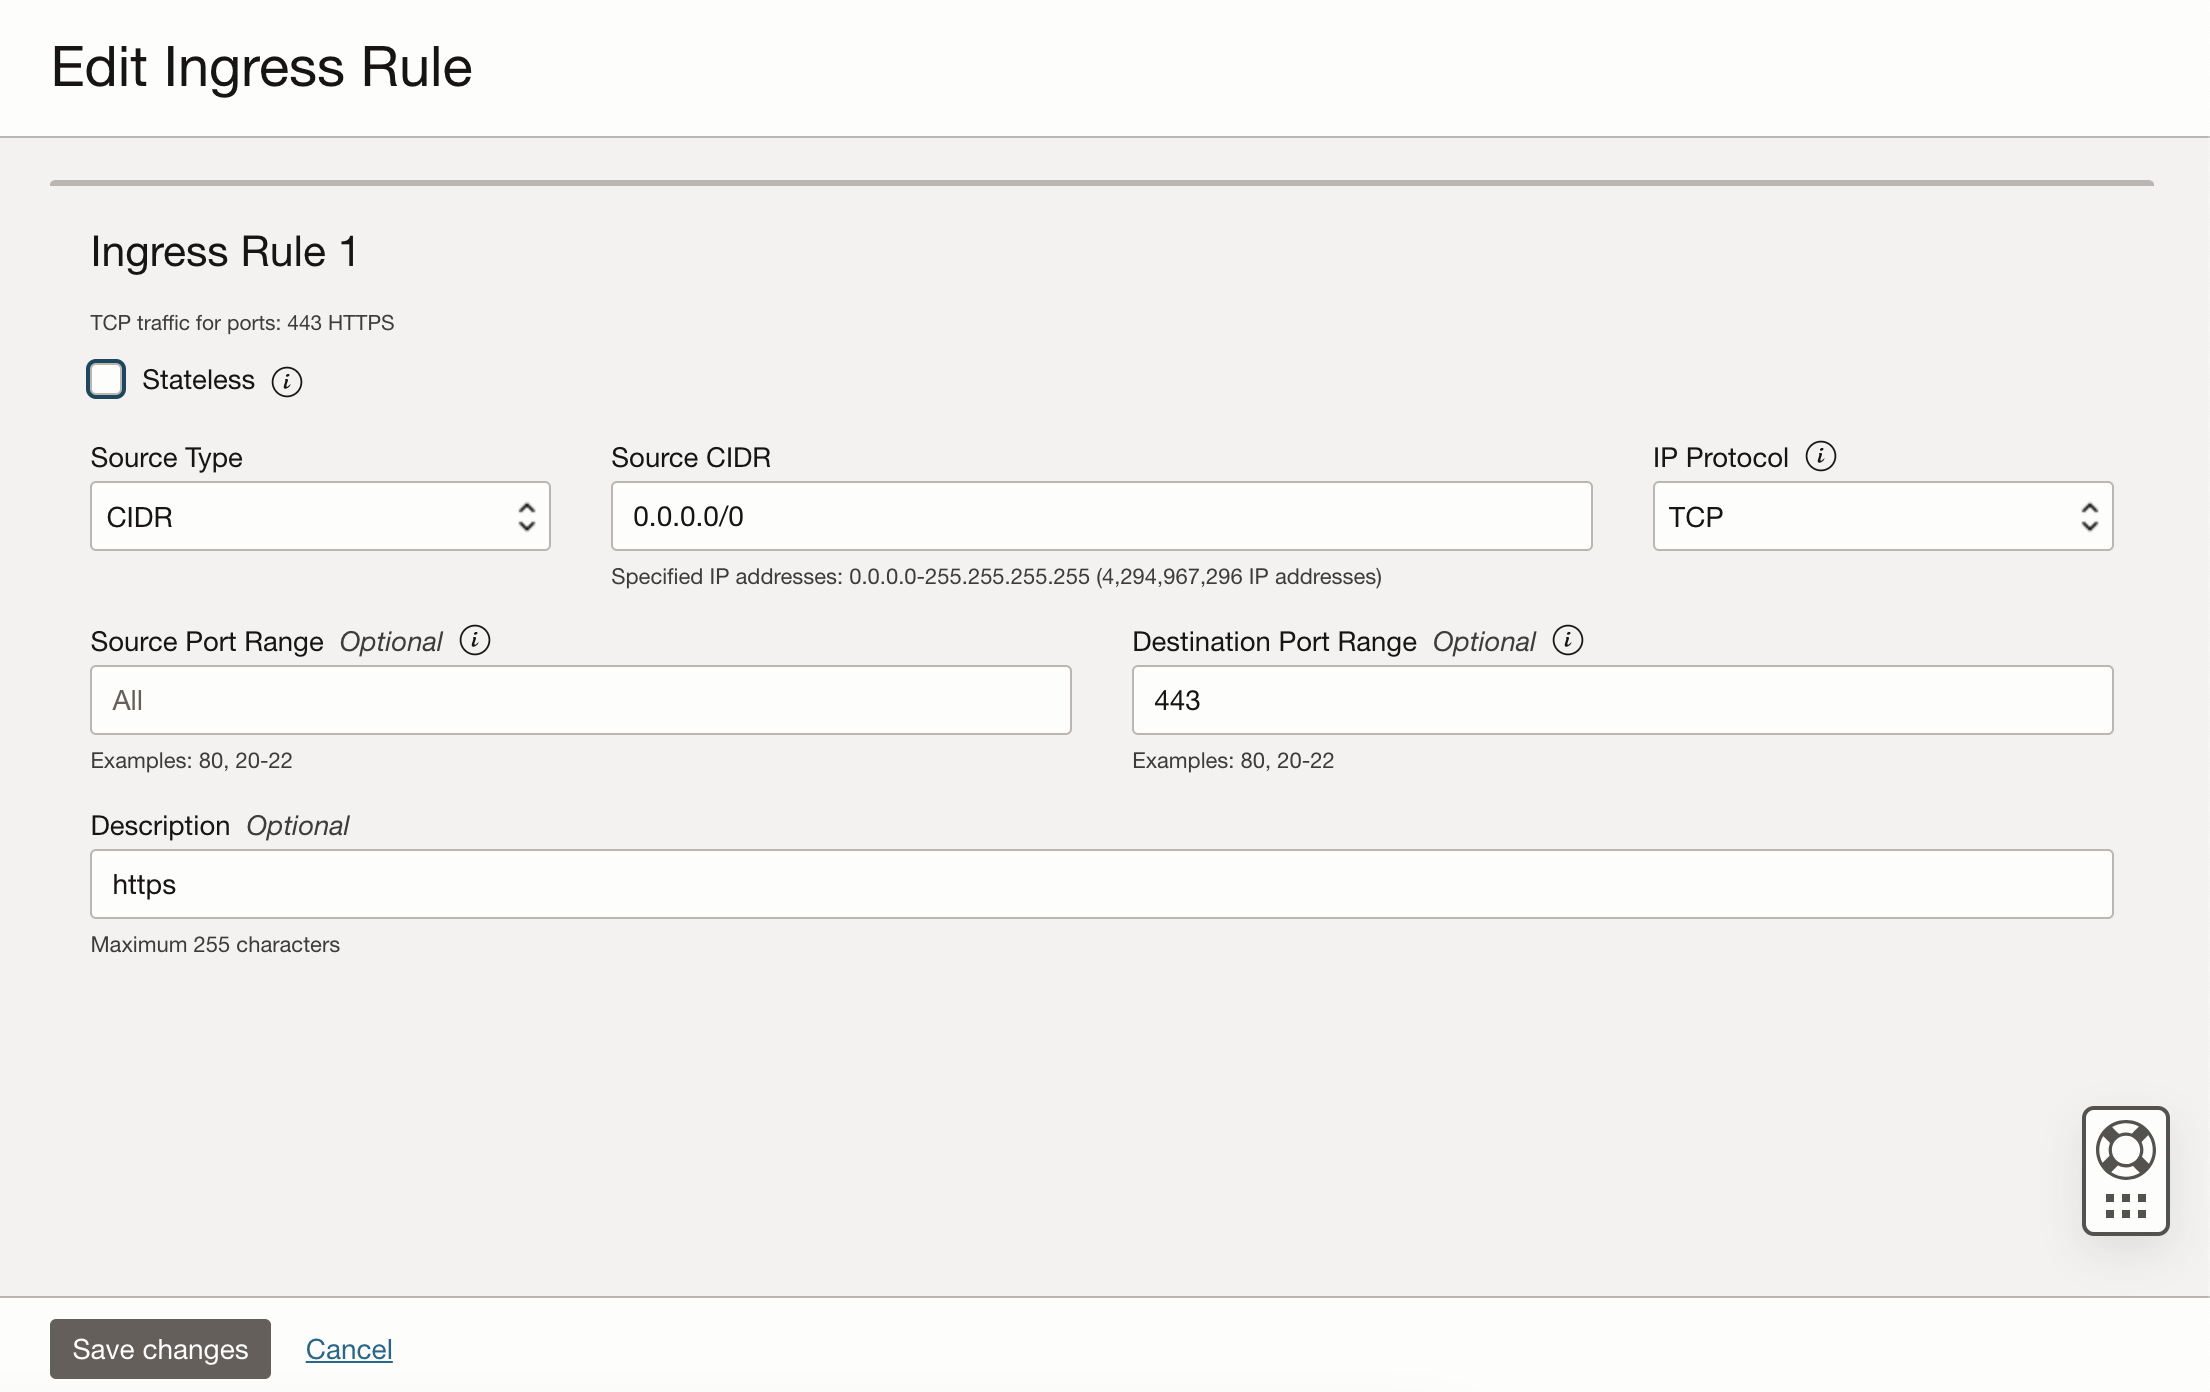
Follow this configuration and only change the port and the optional description.
Conclusion
In this guide, I've provided a step-by-step on creating an Oracle Cloud Free Tier account, setting up a powerfull and cost-free virtual machine (VM), and even demonstrated how to open ports. With this knowledge, you are now well-equipped to create virtual machines and also to install and run various services within them, seamlessly manage your network configurations, and securely open the necessary ports for your applications.